How To… | Splashtop
Splashtop allows students to remotely access on-campus Apple and Windows computers in selected labs and operate these from any device and any location as if physically present at the on-campus computer. This means that software installed on these computers, which may not be otherwise accessible, can continue to be used whilst off-campus.
Please Note: Splashtop is only used by students on courses which require remote access to specialist or high-spec software from off-campus. If you haven’t previously been given access to Splashtop through your course, the below information may not apply to you.
Connecting to an on-campus computer using Splashtop
This guide describes the process for students and other users to connect to on-campus computers using the Splashtop remote access solution.
Splashtop is the University’s chosen remote access solution and enables users to connect to on-campus computers using their personal devices from any location and operate the on-campus computer as if physically present at it.
Contents
First time using Splashtop – Install Splashtop Business App
Log into Splashtop and access an on-campus computer
Close your session and Splashtop
First time using Splashtop – Install Splashtop Business App
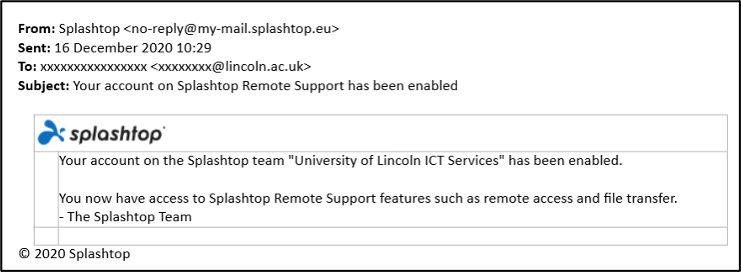
- You will receive an email advising that your Splashtop account has been enabled:
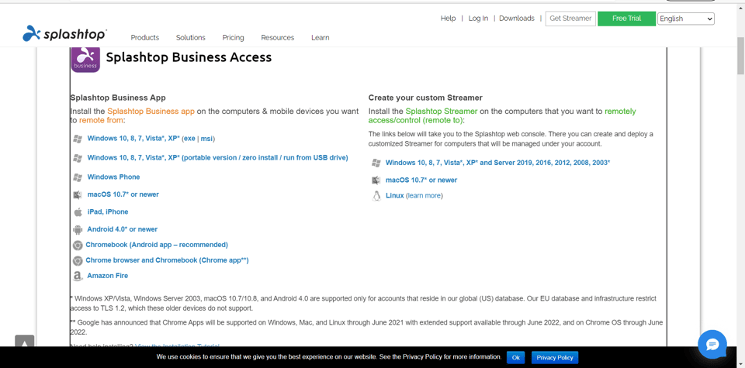
2. In your web browser, go to https://www.splashtop.com/downloads and on the web page that loads, under ‘Select a product’ click on the ‘Business Access’ link.
3. From the list that is shown, select the version of the Splashtop Business App which is applicable to the device you are accessing the system from (i.e. your personal PC or iMac, iPhone or iPad, Android phone or device, Windows Phone, Amazon Fire, Chromebook) and follow the on-screen instructions to download and install the app.
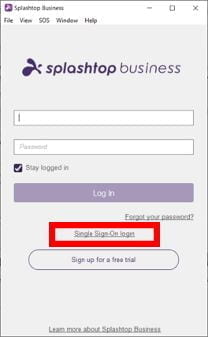
4. Once the app has been installed, launch the app and then click on the ‘Single Sign-On login’ link.
6. When prompted for your user name, enter your University email address then click on the ‘Log In’ button.
7. You will then be directed to the University’s ADFS login page as you would be for other University systems. Enter your University email address and password, then click the ‘Sign in’ button and follow your normal MFA method to complete authentication.
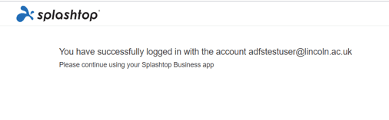
8. A web page similar to the below will load to indicate you have logged in successfully:
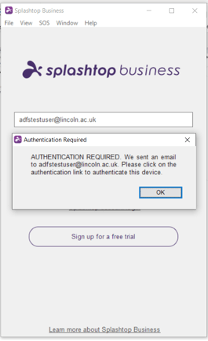 9. Return to the Splashtop Business app. For security purposes, as this is the first instance of your logging into Splashtop on this device, the ‘Authentication Required’ dialog window (right) will appear on the Splashtop Business app. As the dialog indicates, you will receive an email with the subject ‘Splashtop login authentication – action required’ – click on the ‘Authenticate this device’ link in the email.
10. A web page will load to confirm successful authentication. You will also receive a confirmation email.
You have now successfully installed and authenticated to Splashtop and can use the Splashtop Business app to access on-campus computers.
Log into Splashtop and access an on-campus computer
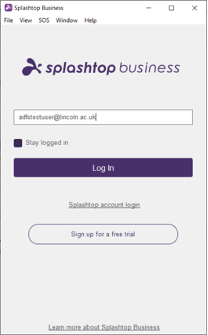
- Open the Splashtop Business app. When you first run the app, the login screen will appear as below – to log into the UoL system, click on the ‘Single Sign-On login’ link – on subsequent logins you will automatically be directed to the login screen for SSO accounts (as pictured in step 2)
2. The login screen will now appear as below. Enter your University email address and click the ‘Log In’ button. You will then be directed to the University’s ADFS login page as you would be for other University systems. Enter your University email address and password, then click the ‘Sign in’ button and follow your normal Multi Factor Authentication method to complete authentication.
3. After logging in via the University sign-in page, the below page will open in your browser advising that you have successfully logged in.
4. You can now return to the Splashtop Business app and will be presented with a list of computers to which you have been granted access.
-
- The list is grouped by rooms. You will only see rooms listed where there are computers which you can access.
- Apple computers are indicated with an Apple icon, Windows computers are indicated with a Windows icon.
- Icons for each computer will appear as below to indicate its current status
| |
Indicates that the computer is online and available for connection |
| |
Indicates that the computer is currently in use by another user |
| |
Indicates that the computer is offline and unavailable for connection |
5. To connect to an available computer, double-click or tap on the computer name. You will then be presented with the computer desktop and be able to work as if physically present at the computer.
6. If you are asked for login credentials when the desktop loads, use the credentials you normally would if physically present at the computer; e.g. your UoL user name & password or a specific user name and password if logging into a computer which doesn’t use UoL credentials.
Close your session and Splashtop
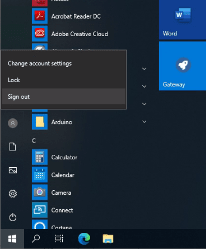
- Log off from the remote computer session as you would if physically present at the computer.
2. Click on the disconnect icon in the Splashtop toolbar.
![]()
3. Close the Splashtop Business app.
Frequently Asked Questions
| Q. | My Mac session has no sound – how do I fix this? |
| A. | There is a known issue with Splashtop whereby on the first login of the day to a Mac computer, the user may not hear any audio from the Mac they’re connected to. To resolve this, close the session and open a new session to the computer. |
| Q. | What do the icons on the Splashtop toolbar mean? |
| A. | Each of these is explained below:
|
| |
Disconnect the session (this does not log you out of the computer, your session is left active to re-connect if you wish) |
| |
Switch active monitor on the remote computer |
| |
Select the monitor to view on the remote computer |
| |
Change display settings |
| |
Enter / exit full screen mode |
| |
Send Ctrl+Alt+Delete |
| |
Session recording |
| |
File transfer |
| |
Perform actions on remote computer |
If you require further assistance with Splashtop, please contact the DT Service Desk on 01522 88 6500 or email ict@lincoln.ac.uk