How To… | Docking Stations
Using a docking station
A number of University offices and buildings are now equipped with docking stations for use with corporate laptops and Surface devices. This guide has been created as a reference on how to use them based on your current setup.
On This Page:
Docking Station Layout and Connectivity
Connecting a new laptop (USB-C)
Connecting older laptops (Display Port)
Connecting the oldest laptops
Displaying different content on the laptop and monitor
Using a wide monitor
Standard Layout
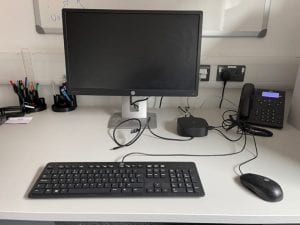
Compatible desks on campus are equipped with this configuration (see right):
- Single monitor
- Keyboard & Mouse
- Docking station
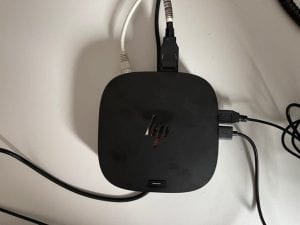
Docking Station Connectivity
- Network cable (ethernet)
- Monitor cable (display port)
- Keyboard & mouse (USB-B)
- Docking station power (13A)
- Docking station to laptop (USB-C)
As long as you connect cables to the slots they fit, you cannot connect the docking station incorrectly. The docking station will have spare USB-B and USB-C slots to allow you to connect charging cables for phones, tablets etc if you need them. The Monitor cable (display port) has a button to press to release it from its slot. Note: power only runs to these if there is a laptop attached to the dock.
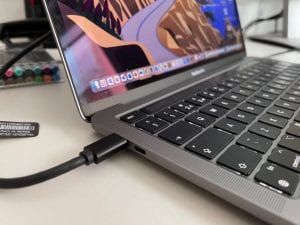
Connecting a new laptop (USB-C)
The single USB-C cable from the dock connects to your laptop (see right).
This will connect to the monitor, keyboard and mouse already on the desk.
You should use the camera built into the laptop for Teams calls.
Connect your headset as you would normally – Bluetooth, a USB port on your laptop or a USB port on the dock if there is one free.
Note: The use of a laptop stand will enhance the viewing angle of the laptop screen and position the camera at a better height.
Connecting older laptops (Display Port)
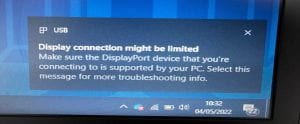
Your laptop may be slightly older and the USB-C port will not send a video signal to the monitor. You may see an error message or the monitor will be black/blank (see right).
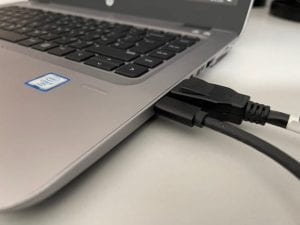 To fix this:
- Disconnect the monitor (display port) from the docking station.
- Connect the monitor (display port) directly to the laptop, along with the USB-C connection for the docking station.
You will now be able to use the keyboard & mouse already on the desk, plus the monitor.
Note: You will need to do this each time you connect your laptop.
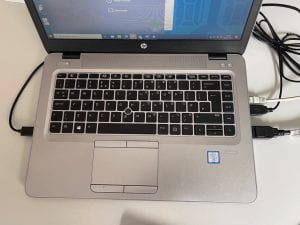
Connecting the oldest laptops
For the oldest devices, the keyboard and mouse may also not function through the dock. You will need to disconnect both the keyboard and mouse USB-B connection from the dock and connect them directly to the laptop.
There will be nothing now connecting to the docking station, and you will not be using it but you will now be able to use the keyboard & mouse already on the desk, plus the monitor.
Note: You will need to do the same actions each time you connect your laptop.
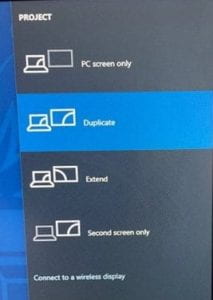
Displaying different content on the laptop and monitor
It is recommended you use the full extent of the screen space available to you. The laptop and monitor can display different windows.
For example, this way you can be reading a word document or something stored on teams on the monitor and have a Teams call running on the laptop screen.
You may need to set this up the first time you use a docking station.
To see separate Windows on both the laptop screen and the monitor you need to ‘extend the display’:
- Hold down the ‘Windows’ key and press the ‘P’ key.
- Select the ‘Extend’ option from the menu and press ‘Enter’.
- You will now see different windows on each screen and will be able to move the mouse cursor from one to the other. You can also drag windows to each as needed.
You may find the laptop screen is on the wrong side of the monitor. If this is the case, your mouse will not move from the laptop to the monitor from the correct side of the screen. To fix this:
 Click on the Windows icon at the bottom left of the screen.
- Select the ‘Settings’ cog.
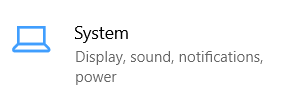
- Select ‘System’.
- Select ‘Display’.
- Click on ‘Identify’. If the screen and monitor are the wrong way round, the numbers displayed will not match those shown in the diagram.
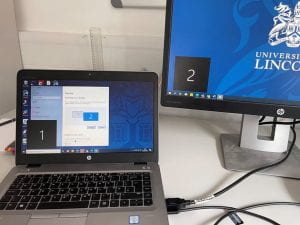
- To correct this, drag the laptop screen in the diagram to the correct side of the monitor.
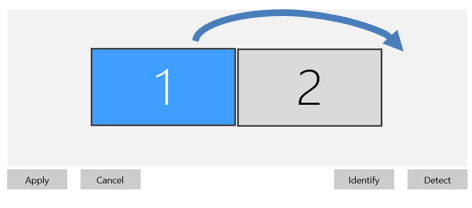
- To save these settings, click ‘Apply’.
Your mouse will now move correctly from the laptop to the monitor.
As long as the laptop is always placed on this side of the monitor, you will only have to do this once.
Using a wide monitor
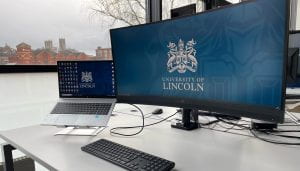
For a full guide on using one of our wide monitors, take a look at our HP Wide Monitor Guide.
